Reverse engineering is quite popular amongst industries such as aerospace, defense, oil & gas, automotive parts, and more. It is a method that enables these industries to use their old and idle mechanical parts and replicate them via 3-D printing. Any three-dimensional project can be scanned and converted into a CAD file, printed via a 3-D printer to get an exact copy of the original workpiece.
Reverse engineering is an extensive process that requires great skill, focus, and undivided attention. If done properly, it can bring many benefits such as re-manufacturing of old and unused products, producing complex parts without having to re-design them, reducing unnecessary downtime, cost-savings, and improving operational efficiencies. Sound too good to be true, right? Well, here’s how you can reverse engineer a product through 3-D printing.
Figure Out the Units & Dimensions
The first step in the reverse engineering process is to determine the units. To do this, you’ll need to figure out where the workpiece was made and designed. Figuring out the manufacturing and design of the workpiece is essential because it will help you understand whether the part is in the metric or imperial unit. Once you’ve got a solid idea of the manufacturing of the part, start taking the measurements. Accurately measure its key components such as length, height, width, and diameter.
Plan And Understand the Object
The next phase is to plan for your 3-D design. Some objects have complex shapes and sizes; therefore, it is critical to understand the product thoroughly. Furthermore, if the product is part of an assembly line, you’ll also need to check the product’s critical attachments so that the reverse engineering doesn’t affect the whole assembly line.
When you’re deconstructing the workpiece keep a close eye on the details. Having the right knowledge and a thorough understanding of the workpiece at the start will make your design and planning easier.
Start Scanning and CAD Designing
After you’ve figured out the dimensions and units and understood the object thoroughly, it is time to start scanning the product. You can use 3-D scanning technologies like laser scanners or even industrial CT scanning. The CAD software converts the information received from the scanner into a polygonal model. It is then cleaned and structured to bring it along the lines of the original product.
After you’ve scanned and corrected any design flaws, the CAD file is converted into an STL file which slices the object in 2-D. The STL file is then transferred for printing.
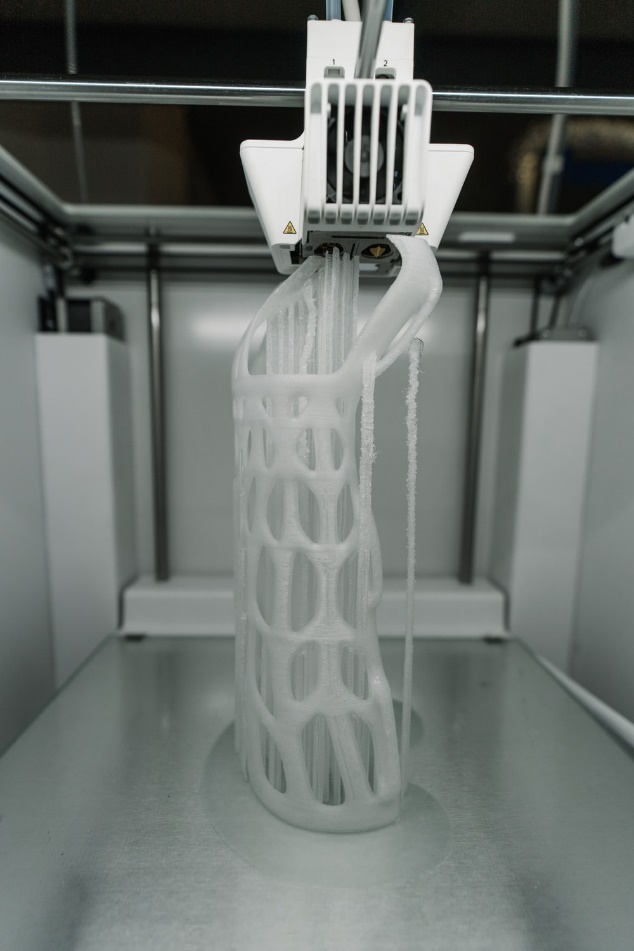
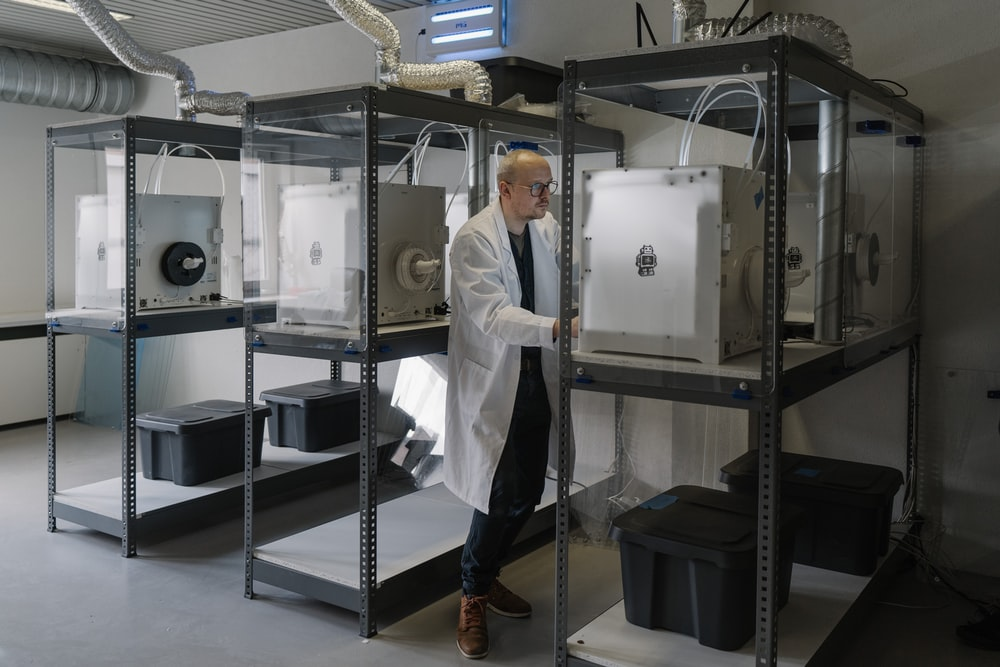
Print The File
The last step of the process is to print the STL file and wait for the result. Once the files and material are loaded into the respective 3-D printer, the printer functions according to the required parameters. Once the printing finishes, the object is sent for post-processing and delivered to the user.
3-D printing and design are revolutionizing the way industries work. If you’re looking for reliable 3-D printing solutions, then check out MD Design & Automation.
We are a family-owned workshop in Wisconsin where our team of designers uses modern CAD models and prints to shorten the design phase, which increases productivity that helps us to deliver innovative products. Our jig and fixture design manufacturing in Wisconsin includes 2D & 3D modeling, edm machining wisconsin, electrical discharge machining wisconsin, cmm inspection wisconsin, large and small assembly design, and more. Contact us now or request a quote for your project.